Sunday, May 26, 2013

Bench Tops


I thought this would be a straight forward job and it was, but a lot more hand-sawing and adjusting than I bargained for.


One problem is that the finish is such a high gloss, it's almost imposssible to photograph!

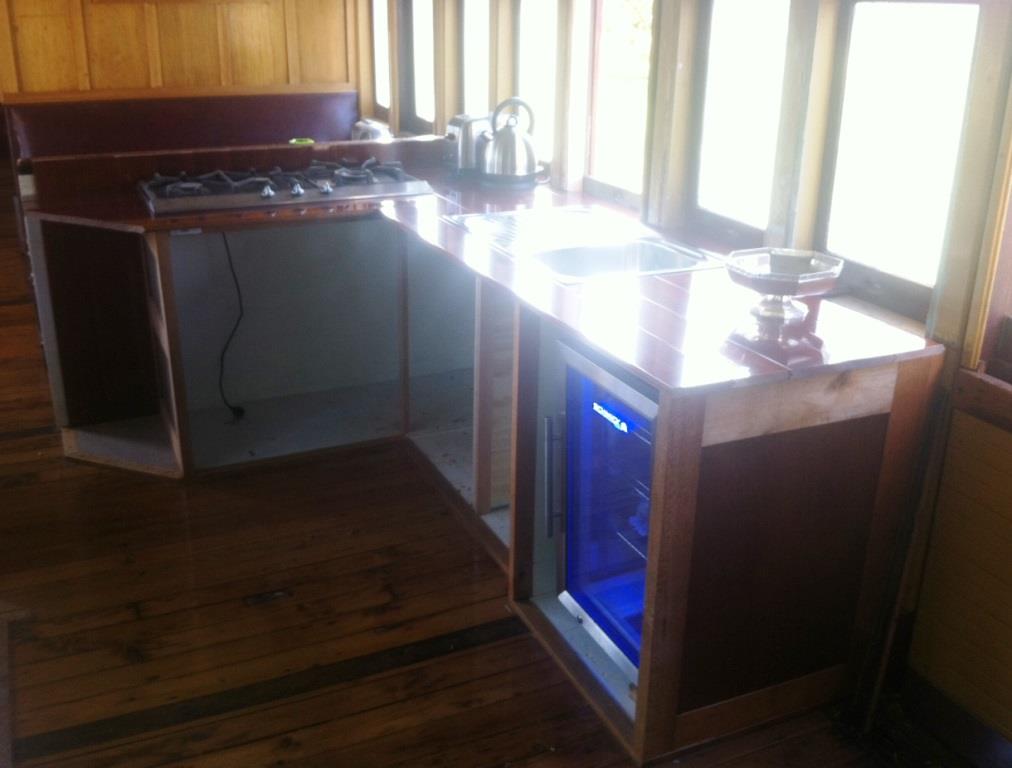
This past weekend I spent a day installing the bench tops in the kitchen area I’ve been working in over the last few weeks. In an earlier blog I made mention of getting a hold of some solid Rosewood flooring and even did a test fit of a few pieces. 

More glos problems but the warm red of the Rosewood shines through

It turned out to be a lovely wood to work with and the tops soon took shape. Being flooring the tongue and grooved edges added to the strength, interlocking the pieces into a flat and durable surface. 

The stove is a freebie second hand from a mate in Sydney, David Murrell. I've had it converted to LPG

The fiddling came in getting the first piece cut to accommodate the window surrounds and the second piece so that it fits relatively snugly up against the splashback (which isn’t as square or flat as it appears). Then there was some fiddling about to get the holes right for the sink and stove but it all came together well.

The sink is straight from Bunnings!

Next job is to trim the edges and finish them with some Silky Oak as an edging timber. When all that’s done it should look pretty good, don’t you think?

Sunday, May 19, 2013

More kitchen


Worked pretty hard yesterday in the kitchen area connecting up the two powerpoints and then building in the framework for the benches. These are all 24x42mm Maranti which is readily available through Bunnings and easy enough to work with.

Also added two blocks to the floor of the fridge cabinet to raise it up a bit and give better ventilation

I’ve tried to set up a strong structure which needs some cladding in Silky Oak to finish and all the joints are half-joints buttressed underneath. The apparently random spacing of the stretchers is to accommodate the stove and the sink both off which will be let into the bench top.

Wiring in the two powerpoints involved sending Chester and his mate Lachlan under the carriage to feed wires through gaps and tuck them up out of the way

So next week I can start putting the top on!

Sunday, May 12, 2013

New Fridge


This week Chester and I went out late on Saturday afternoon and stayed on Clarabelle overnight so I was able to get in a good full-day’s work on her on the Sunday. Having said that, there’s not a lot to show for a day’s work!


The most obvious difference is the installation of the new fridge which has a glass front and a cool blue light inside. I thought this style of fridge, which I sourced through a company that specialises in fridgesfor pubs was more interesting and funky than the more traditional domestic whitegoods type mini-fridge. 

Most of my time was spent filling then sanding the walls around the windows at the back of where the kitchen bench top will be and you can see that in these pics. I also installed two power sockets, which have yet to be wired in.

Sunday, May 5, 2013

Splashback


No blog last week because I was on the road driving to Sydney and back (3500km in a week!). Not only did I have to drop off those batteries I mentioned earlier but I had a few bits and pieces to pick up for Clarabelle along the way. 

I stopped at Zig Zag Railway and picked up some more locks and door furniture that I need to open the two doors on the northern side as well as some new matchboard to replace patches of rotten stuff along the sides and ends of the carriage. I also picked up a large container of the special gloop that I use to create a waterproof membrane on the roof (enviroclad) because I figure that it’s been two years since my last coat up there and perhaps she’s due for a new coat.

I also picked up two boxes of solid Rosewood flooring that I intend to use for bench tops in the kitchen. It took some time to both decide which timber to have on the bench tops and then to source it. I wanted a dark timber to offset the lighter Silky Oak. I did think of Jarrah but always had a reservation that it is a timber from WA and unlikely to have ever been used by QR. 

Then I was mucking around with a setsquare and spirit level I have that are from the original QR carriage workshops at Ipswich. Both are made of brass and Rosewood, which got me thinking. Rosewood is a hard, dark timber readily available in Queensland so I could argue that it would have been used on QR carriages. A bit of an internet search identified a company in western Sydney that made solid Rosewood flooring (although I think it’s from New Guinea) and arranged to pick up some while in the east.

So last weekend I set about using this beautiful timber, not as a benchtop (yet), but as a splash back across the carriage behind the seats in the dining area.


As you can see it is a beautiful timber and the top surface had been finished to a high gloss with a polyurethane varnish. Because it’s flooring it’s tonged and grooved so it slots together nicely. It’s very easy to work with and I’m impressed with the results.

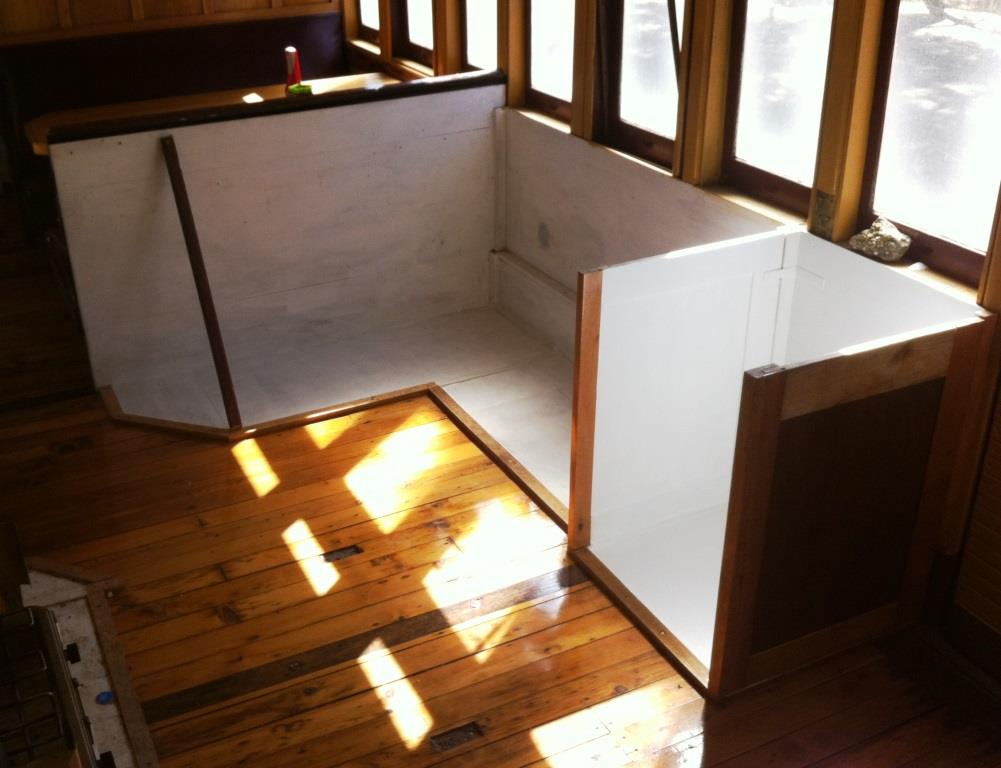
You can also see that I installed the kitchen end that I fabricated a few weeks ago. A good fit into the space and robust enough to provide good support for the back of the seat. Later in the day I gave this a coat of 50/50 varnish and turps to start that process of making it look special.

Impatient as ever, I laid some of the Rosewood flooring out where part of the bench top will be just to get an idea of what it will look like. At this stage I have not varnished the Silky Oak woodwork underneath so the finish between the two is a bit awkward and I have a few more coats of white to put on the inside of the cupboard space but I think you can see that this looks like it will all work out very well!

Test fitting of some of the Rosewood benchtop

The next step here, before I can go ahead and put the bench tops in, is to finish the wall behind. That’s a matter of filling, sanding and painting but will slow things down a bit because I’ll have to set up dust and paint traps to contain the mess. I also really ought to get to work on some sealing jobs on the outside of the carriage but last weekend was a bit too windy to work outside comfortably. 

So many jobs to do, so little time to do them!

The kitchen takes shape. The stove is just resting on the space for the
 fridge. Eventually it will be set into the benchtop against the
 recently-installed splashback.

Sunday, April 14, 2013

Batteries and bits


A bit of a mixed bag this weekend with a few odds and ends. Mainly I wanted to recover some of the batteries from under the carriage to take to Sydney next week for my mate Andrew who wants to recondition and reuses them. This will be in exchange for some timber that he has hoarded away that I can use of the inside of the carriage.


There are two battery boxes under the carriage, both with six large 2 volt batteries in them. Getting at them is awkward being tucked away behind the running boards.


Here is a battery disconnected and half way out.


I removed all six batteries from this battery box. Eventually I plan to install new ones for a 12V system in the carriage but that is years away.

I also slapped some varnish and paint around after clearing out the area for the right hand side kitchen.


And finally, I sanded off the panel shown in the previous blog entry. Managed to get rid of all those horrible scorch marks and reveal the beautiful timber underneath.


Thursday, April 11, 2013

More joinery


This is the most complicated piece I’ve built yet (and any carpenters out there must be laughing hard at that claim!). 


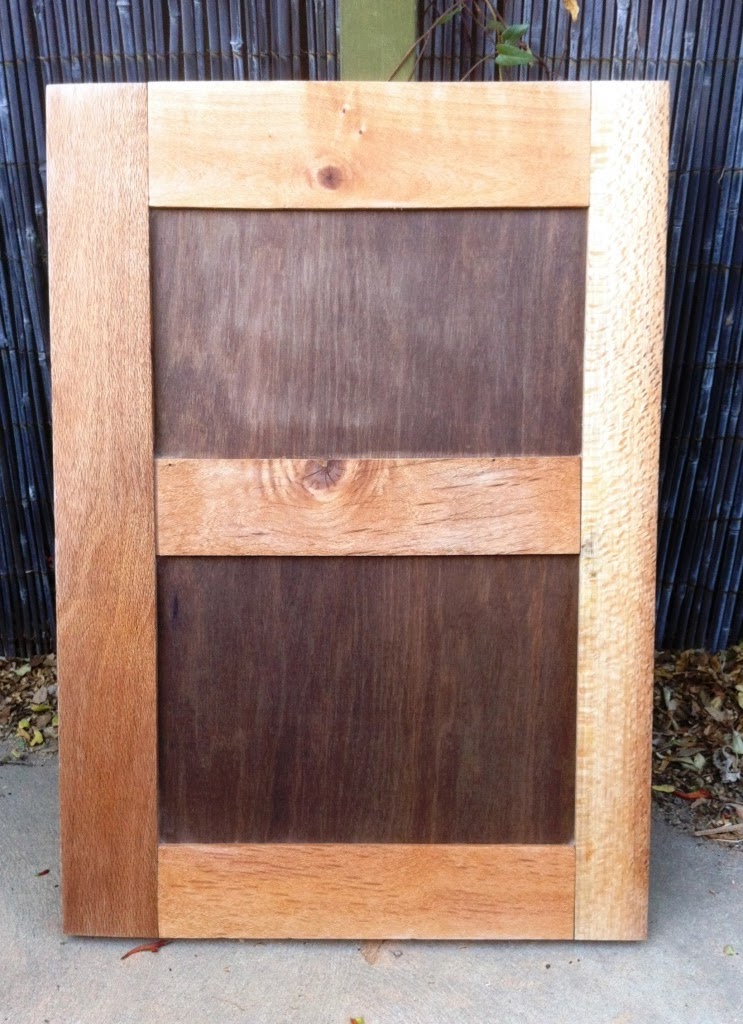
This is another end support for the kitchen benches, a frame from Silky Oak with 6mm Marine Ply panels. All corners are mortise and tenon joints, all hand cut. The complication this time around is the middle cross brace, included to support shelving on both sides, which represents my first ever blind mortise and tenon joints. Not exactly rocket science but tricky if you’ve never done such things before. The whole thing is glued together and clamped to keep flat while the glue dries. 

The unsightly burn marks on the side timbers are due to my pathetic, old and blunt saw in the Triton Workbench. I must get a new blade (and a new saw!) to do a better job. The problem is I had to mill these timbers to the appropriate profiles and the old saw is simply not up to the job. This should all sand out anyway but it is a pain in the butt.

I’ve also built this particular frame from more robust timbers with stronger joints because it will need to counter a torsional load. This frame doubles as both the end support for the kitchen bench and the main support for the back of one of the seats in the dining area. People getting in and out of the seat and pushing against the seat back while seated will tend to push this frame on a diagonal so I’ve over engineered it to compensate. I might also drop some dowels across the joints for added strength but I’ll do this from the inside of the frame so that they can’t be seen.