Monday, August 26, 2013

More lights

Times available to work on Clarabelle have been proving increasingly difficult to find over the last few weeks but I did manage to set up another pair of lights which my mate Sol wired in for me last weekend. These are in the dining area.

Abbs at the table in the dining area with the new lights

As you can see, very difficult to photograph because of the strong contrast between brightest and darkest areas and the overall light intensity but these are actually exterior lights that I've mounted to shine upwards and reflect off the white ceilings. The overall effect is very good and produces more light than is apparent from this pic.

Sunday, July 21, 2013

Edges

A brief visit to Clarebelle this weekend because the weather was horrible!

Just enough time to take the clamps and masking tape off the edges of the bench top, clean them up and slap on a coat of varnish. I hope you agree that the end result looks pretty good!

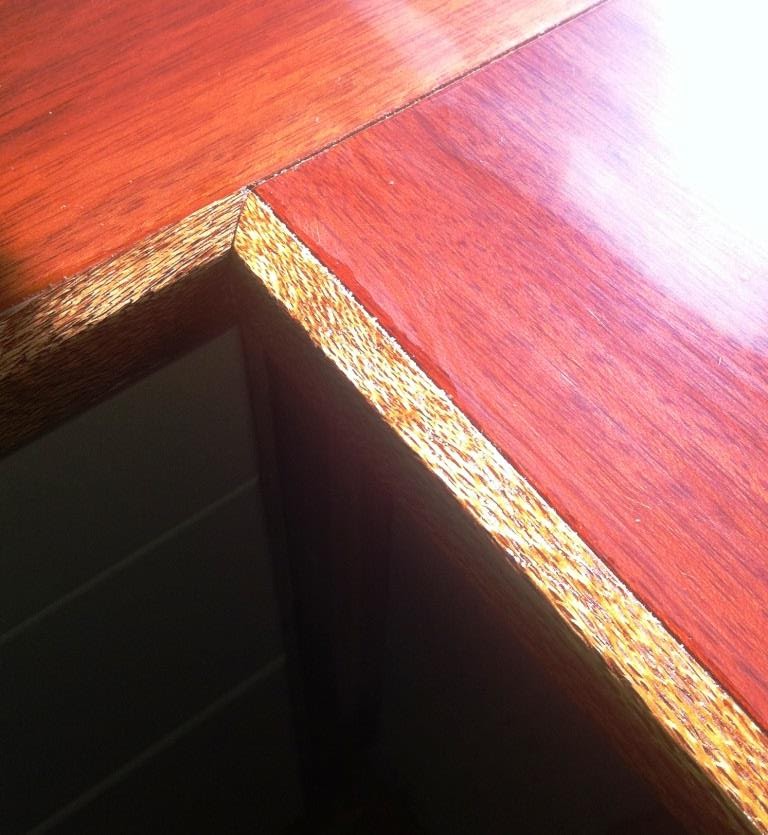
In full sun, the contrast between the golden Silky Oak edges and the Rosewood tops is quite striking!

In a more subdued light the contrast is still marked and the two timbers sit well together.

A close up showing how the different grains and textures compliment each other.

Tuesday, July 16, 2013

Lights, Kitchen and Clean Windows

All weekend on the carriage with an overnight in comfort really moved a few projects along. Firstly, I got some lights installed.

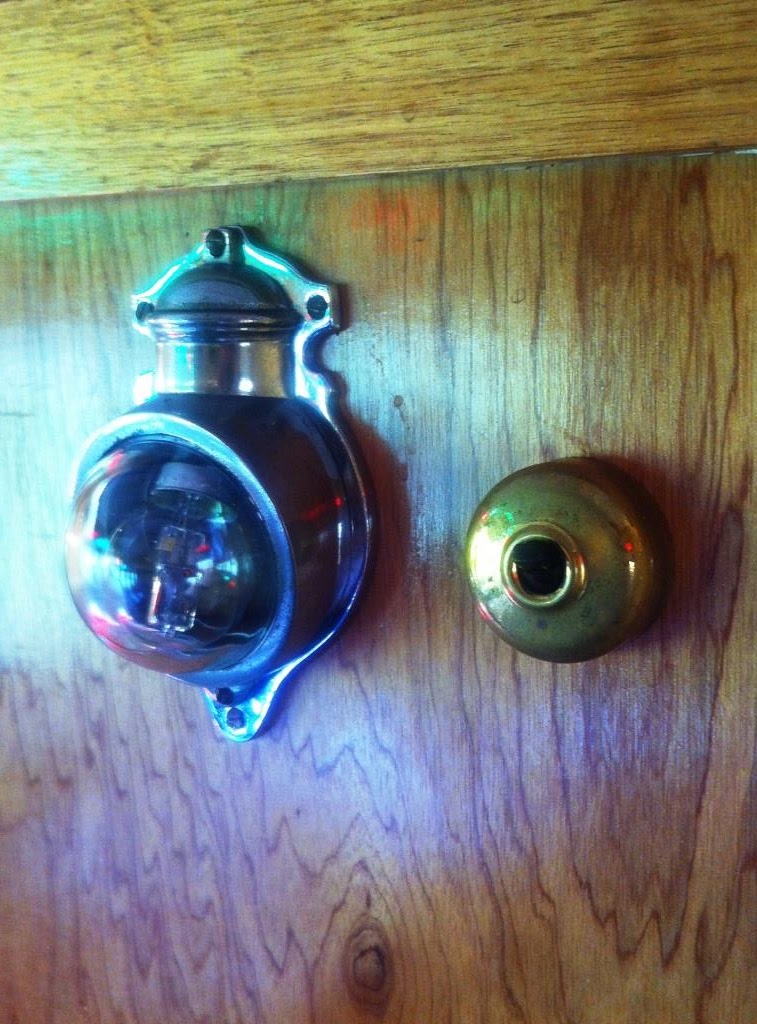
One of the lights and its switch

The lights themselves come from an old WA carriage (I think) while I managed to get the switches from an old wares store.

Both lights on at night
While the intention is for them to be bedside reading lights, they put out enough light to adequately illuminate the whole room! A big thanks to Sol from the Finescale Modellers who wired them in for me.

I also spent some time clearing out the bathroom area in preparation for getting some work done there.

On the back of this bulkhead you can see the wiring for the lights.
 It's a small space that is difficult to photograph but, when finished, will have a composting toilet, shower and pull-down sink in the corner.

Still some stuff to move out!
 Then it was time to turn my attention to the kitchen area.

Masking off the edges
Lots of finishing and detailing jobs to do here. This weekend I put the edges on the bench tops. These are Silky Oak which should offset nicely against the Rosewood tops. First I masked up the top edges. I did this for several reasons, not least of which was to be able to make a mark on the Rosewood that I could see! The masking tape also helps protect the Rosewood's fine finish while fitting the edges and was instrumental in working out how to cut the most accurate angles.

The edges held in place by masking tape and clamps. Photographed at night!
The edges are glued in with bisquit joins for added strength. I've left them taped and clamped in for the week to really strengthend the joins before revealing them.

Another odd kitchen job was installing the slide out bin.

In the open position under the draining board
This required two hefty supports underneath to raise it up over the kick boards.

There were several other small jobs but probably the most significant was cleaning the windows on the northerrn side. This is a job probably best appreciated from the inside.

The winter sun now streams in the cleaned windows.
Last year I sprayed this side of the carriage with a sacrificial anti-graffiti material and the over-spray onto the windows created a frosted look.Now we can see out again!

So that's it for another week. My intention next weekend is to spend a day putting in some basic framework in the bathroom that will allow the wiring-in of some more lights for both the bathroom and the dining area.


Sunday, July 7, 2013

Drawers

Intermittend heavy showers meant some restrictions on what I could do this weekend but I was able to get a set of drawers installed. Most of the time was spent carefully setting up the side walls that the runners are mounted on - they have to be just right for the drawers to work properly.

Closed
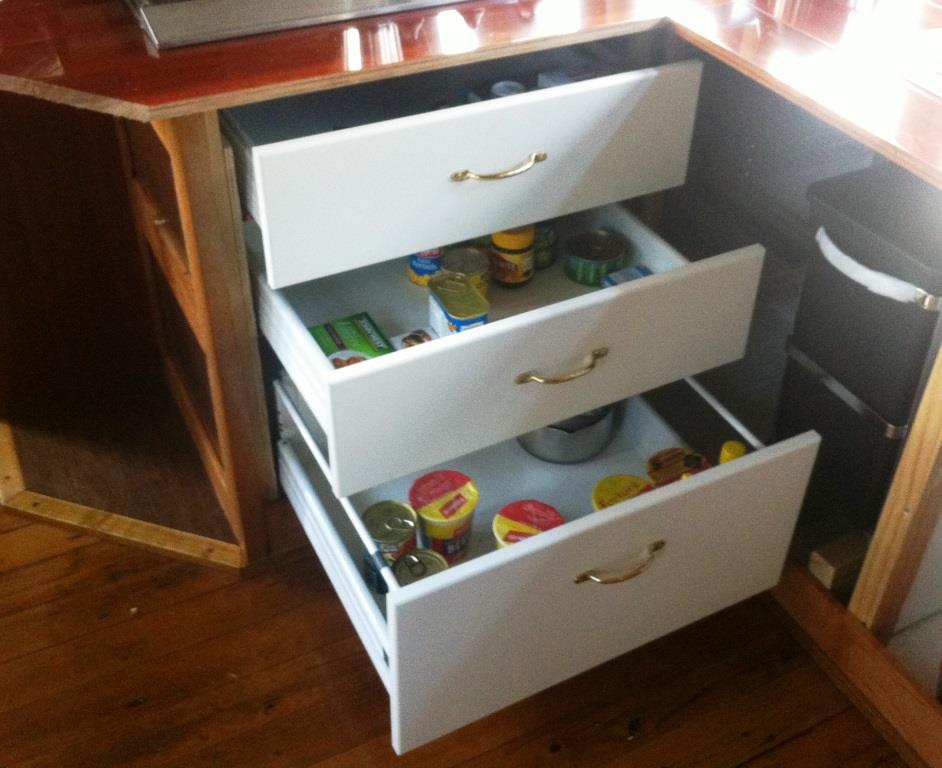
The drawers themselves are kits from Bunnings and I hate the white draw fronts. In time I will replace them with something bespoke that fits into the design of the rest of the kitchen but, for now, these will have to do.

Open
Also managed to run the gas supply for the stove out through the floor so that the gas bottle is now outside the carriage and started to set up some blocks for the sliding waste bin to stand on.

Next weekend I'll be on the carriage by myself staying overnight so I should have much more to report next week!


Monday, June 17, 2013

Two day's work

I've been on the road for work for most of the last two weeks so, not only had I not had the chance to work on Clarabelle, I had wracked up some time in lieu. So, with family obligations keeping me busy on the Saturday, I was able to head up to the carriage on Sunday and stay the night, working all day on the Monday.

I got a lot done but, as usual, not a lot to show for it! Most of Sunday was spent glueing the top down on the kitchen, and painting and varnishing the cupboard space underneath.

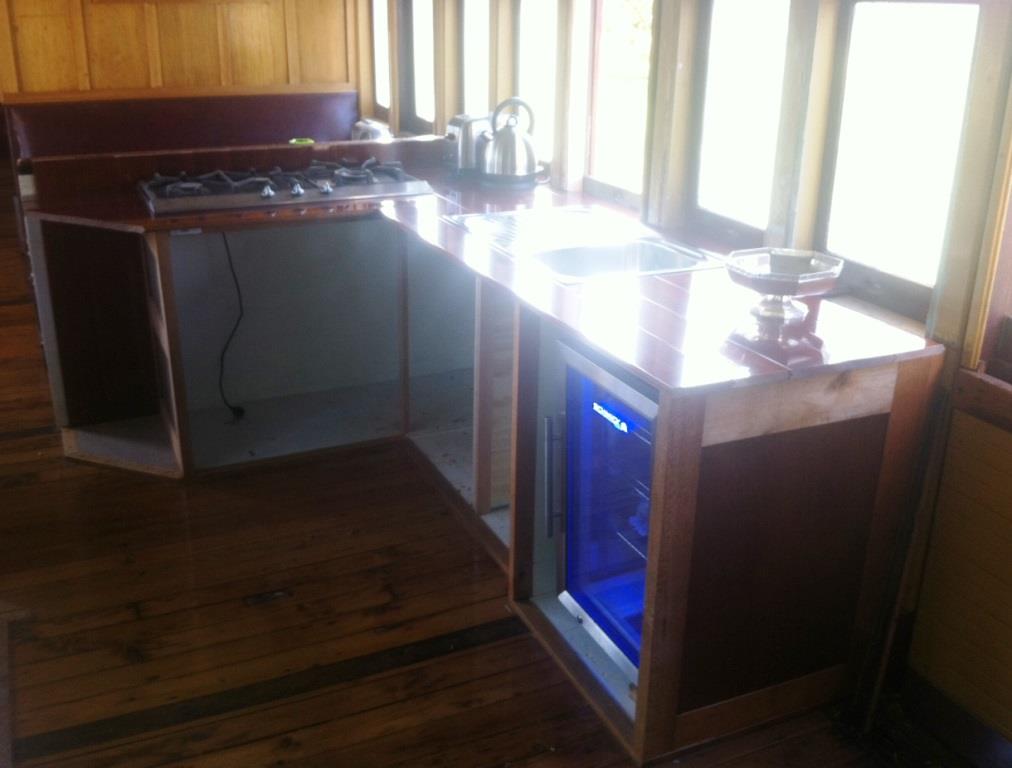
The kitchen is now mostly functional including some pull out shelves just visible in the corner under the kettle.
Among the odd-jobs in the kitchen area was the plumbing in of a S-trap and pipe for the waste water which now drains under the carriage. Eventually I'll put a container under there with a tap and hose so I can use the waste water to water a small line of shrubs on that side of the carriage.

Monday morning and the first use of the stove was to make a cup of coffee!
Overnight and Monday morning were particularly cold - well it is winter! I needed to sand off the top of the entry door because it had started to stick badly - probably having swollen with recent rain. And, once I had the sander out, I thought I'd also sand back a small area close by that needed some attention. One thing led to another and I ended up preparing two whole panels on the end of the carriage!

Two panels sanded back, rot scrubbed out and new filler added.
After scrubbing out some rot with a wire brush, filling where needed and sanding that back, I had time for a coat of 3-in-1 and a top coat of Capsicum Red.

The section when finished
I really need to go over this whole side again because it is the wrong colour and the previous paint hasn't stuck very well in some areas. There's always more work to do when you've got a carriage to restore!


Sunday, May 26, 2013

Bench Tops


I thought this would be a straight forward job and it was, but a lot more hand-sawing and adjusting than I bargained for.


One problem is that the finish is such a high gloss, it's almost imposssible to photograph!

This past weekend I spent a day installing the bench tops in the kitchen area I’ve been working in over the last few weeks. In an earlier blog I made mention of getting a hold of some solid Rosewood flooring and even did a test fit of a few pieces

More glos problems but the warm red of the Rosewood shines through

It turned out to be a lovely wood to work with and the tops soon took shape. Being flooring the tongue and grooved edges added to the strength, interlocking the pieces into a flat and durable surface. 

The stove is a freebie second hand from a mate in Sydney, David Murrell. I've had it converted to LPG

The fiddling came in getting the first piece cut to accommodate the window surrounds and the second piece so that it fits relatively snugly up against the splashback (which isn’t as square or flat as it appears). Then there was some fiddling about to get the holes right for the sink and stove but it all came together well.

The sink is straight from Bunnings!

Next job is to trim the edges and finish them with some Silky Oak as an edging timber. When all that’s done it should look pretty good, don’t you think?

Sunday, May 19, 2013

More kitchen


Worked pretty hard yesterday in the kitchen area connecting up the two powerpoints and then building in the framework for the benches. These are all 24x42mm Maranti which is readily available through Bunnings and easy enough to work with.

Also added two blocks to the floor of the fridge cabinet to raise it up a bit and give better ventilation

I’ve tried to set up a strong structure which needs some cladding in Silky Oak to finish and all the joints are half-joints buttressed underneath. The apparently random spacing of the stretchers is to accommodate the stove and the sink both off which will be let into the bench top.

Wiring in the two powerpoints involved sending Chester and his mate Lachlan under the carriage to feed wires through gaps and tuck them up out of the way

So next week I can start putting the top on!